Imagine indulging in a moist and decadent slice of homemade chocolate cake, with each bite delivering a burst of rich flavor that leaves you craving for more. In this article, you will discover the secrets to baking the perfect chocolate cake in the comfort of your own kitchen. From choosing the finest ingredients to mastering the art of the batter, you will learn step-by-step instructions that will elevate your baking skills to new heights. Get ready to impress your friends and family with the best homemade chocolate cake they’ve ever tasted.
Choosing the Ingredients
Selecting the Best Cocoa Powder
When it comes to baking a truly decadent chocolate cake, the cocoa powder you choose will make all the difference. Look for a high-quality cocoa powder that is unsweetened and Dutch-processed. Dutch-processed cocoa powder has been treated with an alkali to neutralize its natural acidity, resulting in a smoother and more mellow flavor. It also has a darker color, which will give your chocolate cake a rich and deep hue.
Choosing the Right Flour
Flour is a crucial ingredient in any cake recipe, and choosing the right type will impact the texture and structure of your chocolate cake. For a tender and moist cake, opt for all-purpose flour. It has a medium protein content which strikes a balance between tenderness and structure. If you prefer a denser and more substantial cake, consider using cake flour which has a lower protein content. Whatever you choose, be sure to measure the flour accurately to ensure the perfect consistency in your cake.
Deciding on the Perfect Sweetener
To achieve the ideal level of sweetness in your chocolate cake, selecting the right sweetener is key. Granulated sugar is the most commonly used sweetener, providing sweetness without adding additional flavors. However, you can experiment with other options such as brown sugar or even maple syrup for a unique twist. Just remember to adjust the amount of liquid in the recipe accordingly if you decide to use liquid sweeteners.
Using Quality Chocolate
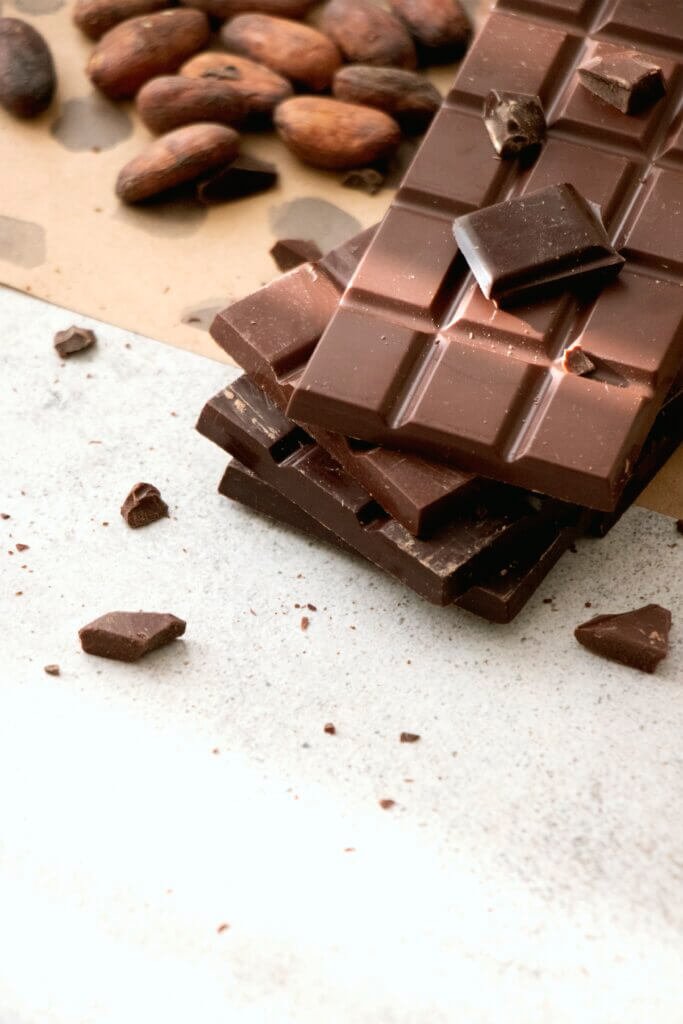
Using quality chocolate can elevate your homemade chocolate cake to new heights of flavor. Look for chocolate with a high percentage of cocoa solids for a deep and intense chocolate flavor. Semi-sweet or bittersweet chocolate are excellent choices, as they have enough sweetness to balance the richness of the cake. Avoid using chocolate chips or candy melts, as they may contain stabilizers that can affect the texture of the cake.
Opting for Fresh Eggs
Eggs play a vital role in creating a moist and tender chocolate cake. Always choose fresh eggs, as they have more binding power and will help to give your cake structure. Additionally, eggs at room temperature will mix more easily and evenly into the batter. To bring cold eggs to room temperature quickly, simply place them in a bowl of warm water for a few minutes before using.
Selecting the Ideal Oil
The type of oil you use in your chocolate cake can affect its texture and moistness. Vegetable oil is a popular choice due to its neutral flavor and its ability to create a moist and tender cake. However, you can also use other oils such as canola or sunflower oil. Avoid using strongly flavored oils such as olive or coconut oil, as they can overpower the delicate chocolate flavor of the cake.
Preparing the Chocolate Cake Batter
Measuring the Ingredients
Accurate measurement of ingredients is crucial to achieve a consistent and successful chocolate cake. Use measuring cups or a kitchen scale to measure the dry ingredients like flour, cocoa powder, and sugar. For liquids, use a liquid measuring cup with clear markings. Spoon the dry ingredients into the measuring cup and level off the excess with a straight edge for precise measurements. Remember, baking is a science, and precise measurements can make or break your cake.
Sifting the Dry Ingredients
Sifting the dry ingredients, especially the cocoa powder and flour, helps to remove any lumps and ensures an even distribution in the batter. Sifting also aerates the ingredients, resulting in a lighter and fluffier cake. Use a fine-mesh sieve or a flour sifter and gently tap it over a bowl to sift the dry ingredients. This step may seem small, but it can make a big difference in the final texture of your chocolate cake.
Mixing the Wet Ingredients
In a separate bowl, whisk together the wet ingredients such as eggs, oil, and any liquid sweeteners. Whisk until the ingredients are well combined and form a smooth mixture. Be sure to break up the eggs and fully incorporate them into the mixture. Whisking the wet ingredients together before combining them with the dry ingredients helps to ensure an even distribution of flavors throughout the cake.
Combining the Dry and Wet Ingredients
Now it’s time to bring the dry and wet ingredients together to form the chocolate cake batter. Create a well in the center of the dry ingredients and pour the wet mixture into it. Gently fold the dry ingredients into the wet ingredients using a spatula or a whisk. Be careful not to overmix, as this can result in a dense and tough cake. Mix just until the ingredients are combined and no streaks of dry ingredients remain.
Adding Additional Flavorings
While a classic chocolate cake is delicious on its own, you can add extra flavorings to enhance the taste. Consider adding a teaspoon of vanilla extract for a subtle and aromatic flavor. For a touch of warmth, add a pinch of cinnamon or a dash of espresso powder. If you want to get adventurous, experiment with different extracts or liqueurs that complement chocolate, such as almond extract or orange liqueur.

Baking the Chocolate Cake
Preheating the Oven
Before you start baking the cake, make sure to preheat the oven to the required temperature stated in your recipe. Preheating is essential to ensure that the cake bakes evenly and with the right texture. Allow the oven to heat up for at least 10-15 minutes before placing the cake pans inside.
Greasing and Flouring the Cake Pans
To prevent the cake from sticking to the pans, it’s important to properly grease and flour the cake pans. Start by greasing the pans with either butter or cooking spray, making sure to coat the bottom and sides evenly. Then, dust each pan with a light layer of flour, tapping out any excess. This ensures a clean release of the cake from the pans once it’s baked.
Pouring the Cake Batter
Carefully pour the prepared chocolate cake batter into the greased and floured cake pans. Use a spatula or the back of a spoon to spread the batter evenly, ensuring that it reaches all corners of the pan. Smooth the top surface of the batter to create an even layer, which will result in an evenly baked cake.
Setting the Right Temperature and Time
Refer to your recipe for the recommended temperature and baking time. Set your oven to the specified temperature, making sure it has reached the desired heat before placing the cakes inside. Avoid opening the oven door during baking, as it can cause fluctuations in temperature and interfere with the cake’s rising process.
Monitoring the Cake as it Bakes
As the cake bakes, keep a close eye on it through the oven window or with the help of a kitchen timer. The cake should rise evenly, and the top surface will develop a golden-brown color. Avoid opening the oven door until the minimum baking time has passed, as sudden temperature changes can cause the cake to sink.
Performing the Toothpick Test
To determine if the cake is fully baked, perform the toothpick test. Insert a clean toothpick or a cake tester into the center of the cake. If it comes out clean or with a few crumbs clinging to it, the cake is done. If batter sticks to the toothpick, continue baking for a few more minutes and test again. Be cautious not to overbake, as it can result in a dry cake.
Cooling the Cake Pans
Once the toothpick test confirms that the cake is fully baked, remove the pans from the oven and place them on a wire rack. Allow the cakes to cool in the pans for about 10-15 minutes. This cooling period helps the cake to set and firm up, making it easier to remove from the pans without breaking.
Making the Chocolate Frosting
Choosing the Right Chocolate
Just like in the cake batter, choosing high-quality chocolate is crucial for a rich and creamy frosting. Opt for chocolate with a high cocoa percentage, as it will provide a deep and intense chocolate flavor. Bittersweet or semi-sweet chocolate are excellent choices. Avoid using chocolate chips, as they contain stabilizers that can affect the texture of the frosting.
Melting the Chocolate
To melt the chocolate for the frosting, you can use a double boiler or a microwave. If using the double boiler method, place a heatproof bowl over a pot of simmering water. Break the chocolate into pieces and add them to the bowl, stirring occasionally until fully melted and smooth. If using the microwave, break the chocolate into pieces and place them in a microwave-safe bowl. Heat in short intervals, stirring between each interval until completely melted.
Creaming the Butter
In a separate bowl, cream room temperature butter until soft and fluffy. Beat the butter using an electric mixer or a stand mixer on medium speed for about 3-4 minutes. The creaming process helps to incorporate air into the butter, resulting in a light and airy frosting. Stop and scrape down the sides of the bowl occasionally to ensure even mixing.
Adding Sugar and Vanilla Extract
Gradually add powdered sugar to the creamed butter, mixing on low speed until fully incorporated. This may take a few minutes, so be patient. Once the sugar is fully combined, add a teaspoon of vanilla extract to enhance the flavor of the frosting. Mix on low speed until the extract is evenly distributed throughout the frosting.
Incorporating the Melted Chocolate
Finally, add the melted chocolate into the butter and sugar mixture. Mix on low speed initially to prevent any splatters. Once the chocolate is partially incorporated, increase the speed to medium and continue mixing until the frosting is smooth and velvety. Scrape down the sides of the bowl as needed to ensure that all the ingredients are well blended.

Assembling and Decorating the Cake
Leveling the Cake Layers
Before assembling the cake, it’s essential to level the cake layers. This ensures an even and stable final product. Use a long, serrated knife or a cake leveler to carefully trim off any domed or uneven tops of the cakes. Gently saw the knife back and forth while rotating the cake to create a leveled surface.
Applying a Layer of Frosting
To assemble the cake, start by placing one leveled cake layer on a serving platter or a cake board. Spread a thin, even layer of frosting on top of the cake using an offset spatula or a butter knife. This layer, known as a crumb coat, helps to seal in any loose crumbs and provides a smooth base for the final layer of frosting.
Adding Additional Cake Layers
Once the first layer is frosted, carefully place the second leveled cake layer on top. Ensure that it is centered and aligned with the bottom layer. If you are making a multi-layered cake, repeat the process of adding additional cake layers, alternating with a layer of frosting until all layers are used.
Frosting the Entire Cake
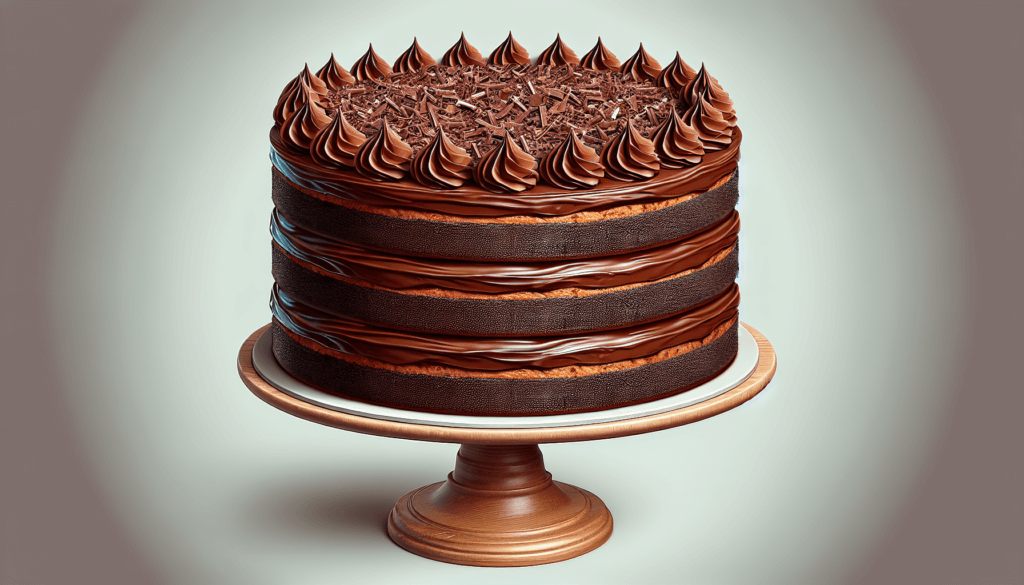
After all the cake layers are assembled, it’s time to frost the entire cake. Start by applying a generous amount of frosting to the top layer, spreading it evenly with an offset spatula. Gradually work your way down the sides of the cake, applying and spreading the frosting in a smooth and even layer. Take your time and be patient, as this step requires a steady hand and attention to detail.
Adding Decorations
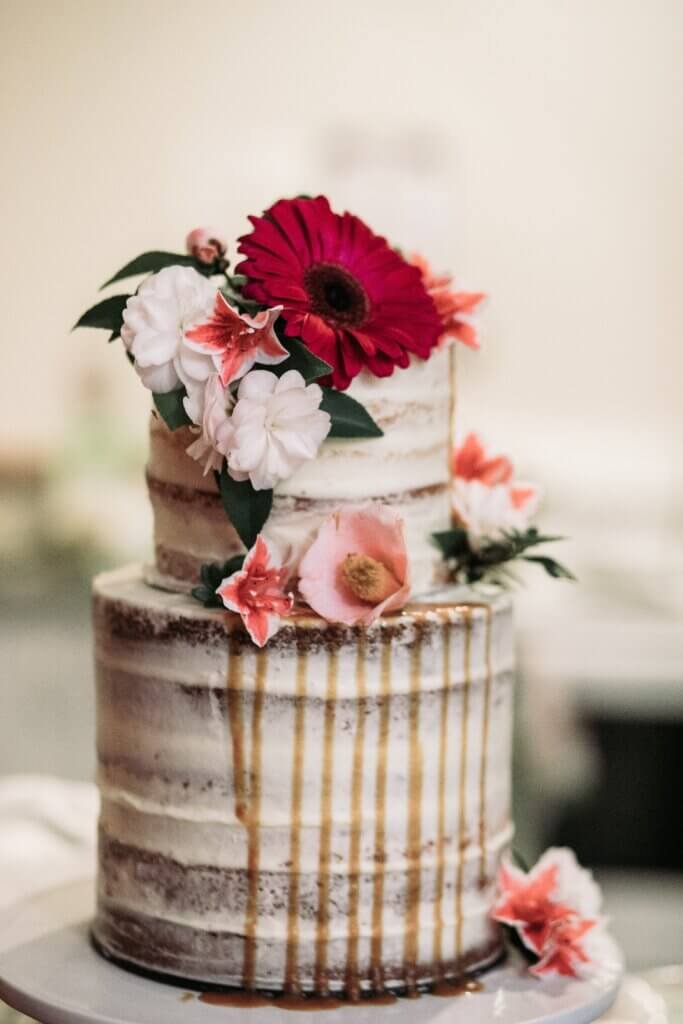
Once the cake is frosted, it’s time to get creative with decorations. You can use additional frosting to pipe decorative borders or designs onto the cake. Sprinkle colorful sprinkles, chocolate shavings, or edible glitter on top for a festive touch. Fresh berries, edible flowers, or even chocolate ganache drizzles can also be used to enhance the presentation and flavor of the cake.
Refrigerating the Cake Before Serving
To allow the frosting to set and the flavors to meld together, it’s recommended to refrigerate the cake for at least an hour before serving. This also helps to firm up the cake, making it easier to slice and serve. After refrigeration, bring the cake to room temperature before serving to maximize its flavor and texture.
Tips and Tricks for the Perfect Chocolate Cake
Using Room Temperature Ingredients
To ensure that your chocolate cake bakes evenly and has the right texture, it’s essential to use ingredients that are at room temperature. Removing eggs and butter from the refrigerator at least 1 hour before baking allows them to mix more easily and evenly into the batter.
Avoiding Overmixing the Batter
Overmixing the cake batter can result in a dense and tough cake. Mix the ingredients just until they are combined, and no streaks of dry ingredients remain. Be gentle and use a folding motion to incorporate the ingredients together, as this helps to retain air in the batter and create a light texture.
Double-checking the Oven Temperature
To ensure that your chocolate cake bakes at the right temperature, invest in an oven thermometer. Ovens can sometimes have temperature discrepancies, and using an oven thermometer will give you an accurate reading. Adjust the oven temperature accordingly to match the required temperature in your recipe.
Allowing the Cake to Cool Completely
Before frosting and decorating the cake, make sure it has cooled completely. This prevents the frosting from melting and sliding off the cake. Cooling also allows the cake to set and firm up, making it easier to handle and slice without crumbling.
Using a Sharp Knife for Leveling Layers
When leveling the cake layers, use a long, sharp knife or a cake leveler for precise and even cuts. A dull knife can result in ragged edges and may not create a level surface. Take your time and ensure that the knife is clean and sharp before starting.
Applying a Crumb Coat
A crumb coat refers to a thin layer of frosting applied to the cake before the final layer. This helps to seal in any loose crumbs and provides a smooth base for the final layer of frosting. Take care to spread the crumb coat evenly, and then refrigerate the cake for a few minutes before applying the final layer of frosting.
Adding a Moistening Syrup
For an extra moist and flavorsome chocolate cake, consider brushing a moistening syrup onto the cake layers before frosting. Simply combine equal parts sugar and hot water, and stir until the sugar dissolves. Add a splash of vanilla extract or flavored liqueur for additional taste. Brush the syrup onto the cake layers using a pastry brush, allowing it to soak in before applying the frosting.
Experimenting with Different Fillings
While a classic chocolate cake is delicious on its own, you can experiment with different fillings to add variety and depth of flavor. Consider spreading a layer of fruit preserves, chocolate ganache, or even a layer of frosting mixed with crushed nuts between the cake layers. These fillings can add a pleasant surprise and take your chocolate cake to the next level.
Getting Creative with Decorations
Decorating the chocolate cake is an opportunity to unleash your creativity. Don’t be afraid to think outside the box and try new techniques or decorations. Play with different piping tips for frosting borders or make intricate designs using melted chocolate. Edible flowers, fresh fruits, or even handcrafted chocolate decorations can make your chocolate cake a feast for the eyes as well as the taste buds.

Common Mistakes and How to Fix Them
Cake too Dense or Dry
If your chocolate cake turns out dense or dry, it may be due to overmixing the batter or overbaking. Next time, be mindful of the mixing time and only incorporate the ingredients until just combined. Also, keep a close eye on the baking time and perform the toothpick test to check for doneness. You can also try adding a moistening syrup or experimenting with a different recipe or technique.
Soggy Cake Layers
If your cake layers turn out soggy, it may be because they were not cooled completely before frosting. Ensure that the cake layers have cooled to room temperature before applying the frosting. Additionally, make sure that the frosting is not too watery or runny, as this can contribute to the sogginess of the cake. The right consistency of the frosting should allow it to spread easily without causing the layers to become mushy.
Frosting that Melts or Runs
If your frosting melts or becomes runny, it may be due to the temperature of the environment or the ingredients. Make sure that the butter is at room temperature but not too soft, as this can affect the stability of the frosting. If the room is too warm, consider refrigerating the frosting for a few minutes before using it. Refrigerating the cake after frosting can also help to firm up the frosting and prevent melting.
Unevenly Baked Cake
If your chocolate cake bakes unevenly, it may be due to hot spots in your oven or incorrect placement of the cake pans. To avoid this, ensure that your oven is properly calibrated and heating evenly. Consider rotating the pans halfway through the baking process to promote even heat distribution. If you have multiple cake pans in the oven at the same time, make sure they are evenly spaced to allow for proper airflow.
Cake Sticking to the Pan
If your cake sticks to the pan, it can be frustrating and result in a broken or crumbled cake. To prevent this, ensure that you properly grease and flour the cake pans before pouring in the batter. Additionally, allow the cake to cool in the pans for a short period before running a knife or offset spatula around the edges to loosen it. Placing parchment paper rounds at the bottom of the pans can also help with easy release.
Cracked or Sunken Cake
If your chocolate cake develops cracks or sinks in the middle, it may be due to several factors such as overmixing the batter, opening the oven door too soon, or incorrect oven temperature. To prevent this, be gentle when mixing the batter, and mix only until the ingredients are combined. Avoid opening the oven door until the minimum baking time has passed and check the oven temperature with an oven thermometer to ensure accuracy.
Storage and Serving Suggestions
Properly Storing the Chocolate Cake
To keep your chocolate cake fresh and moist, it’s important to store it properly. Once completely cooled, wrap the cake tightly in plastic wrap or place it in an airtight cake container. Keep the cake at room temperature if you plan to consume it within 2-3 days. For longer storage, refrigerate the cake for up to a week. However, refrigeration can alter the texture of the cake slightly, so be sure to bring it to room temperature before serving.
Freezing the Cake
If you want to freeze your chocolate cake, it’s best to do so before adding the frosting. Wrap the unfrosted cake tightly in plastic wrap, followed by a layer of aluminum foil or a freezer bag. The cake can be frozen for up to 2-3 months. When you’re ready to enjoy it, thaw the frozen cake in the refrigerator overnight, then bring it to room temperature before frosting and serving.
Thawing the Frozen Cake
To thaw a frozen chocolate cake, transfer it from the freezer to the refrigerator overnight. This gradual thawing process helps to preserve the cake’s moisture and texture. Once thawed, allow the cake to come to room temperature before frosting and serving. Avoid using a microwave or oven to thaw the cake quickly, as it can cause uneven thawing and affect the quality of the cake.
Serving the Cake
Before serving your homemade chocolate cake, slice it into individual portions using a clean and sharp knife. Wipe the knife clean between each slice to maintain clean cuts. Serve the cake on a cake stand or dessert plates, garnished with fresh fruit, a sprinkle of powdered sugar, or a dollop of whipped cream. Pair it with a scoop of vanilla ice cream or a drizzle of chocolate sauce for an extra decadent treat.

Conclusion
The Joy of Homemade Chocolate Cake
Baking a homemade chocolate cake is a delightful and rewarding experience. With the right ingredients and techniques, you can create a moist, rich, and decadent cake that will leave your taste buds begging for more. From choosing the best cocoa powder and flour to perfecting the chocolate frosting and decorations, every step in the process is an opportunity to express your creativity and passion for baking. So grab your apron, preheat the oven, and get ready to indulge in the pure joy that only a homemade chocolate cake can bring.
Share Your Sweet Creation
After you’ve baked and decorated your homemade chocolate cake, don’t forget to share your sweet creation with friends and loved ones. Take pride in your baking skills and spread the joy by sharing slices of your delicious cake. Whether it’s a celebratory occasion or just a simple gathering, a homemade chocolate cake is sure to impress and bring smiles to everyone’s faces. So gather around, savor the rich flavors, and bask in the joy of sharing your sweet creation with others.


