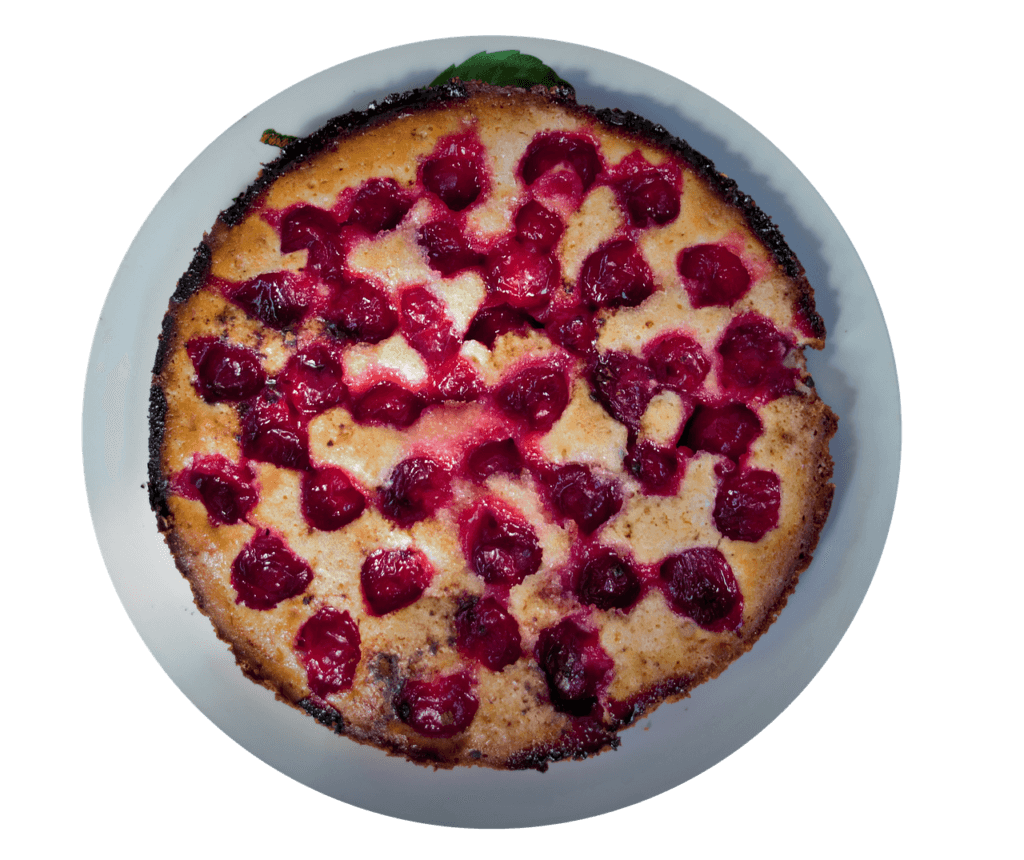
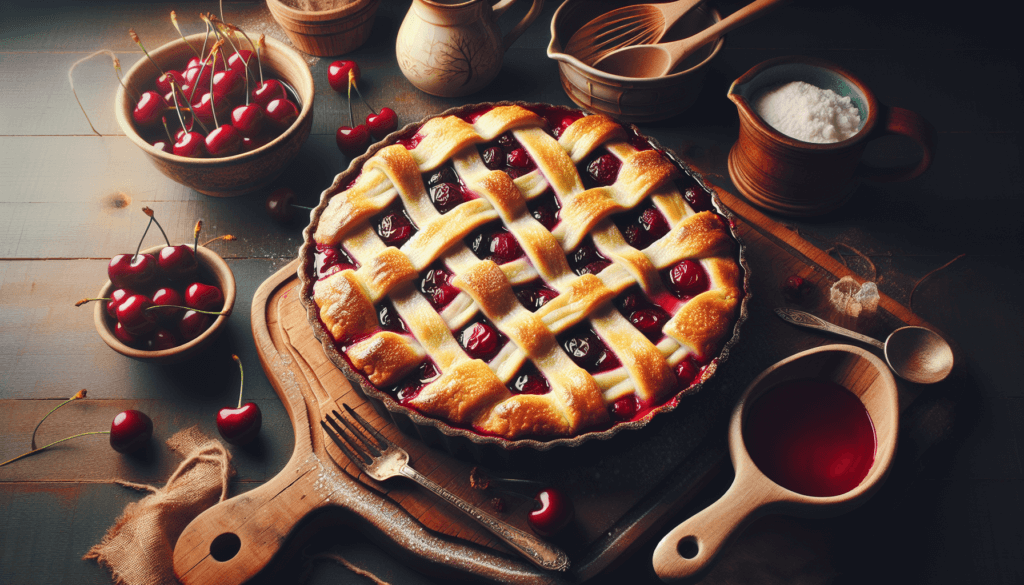
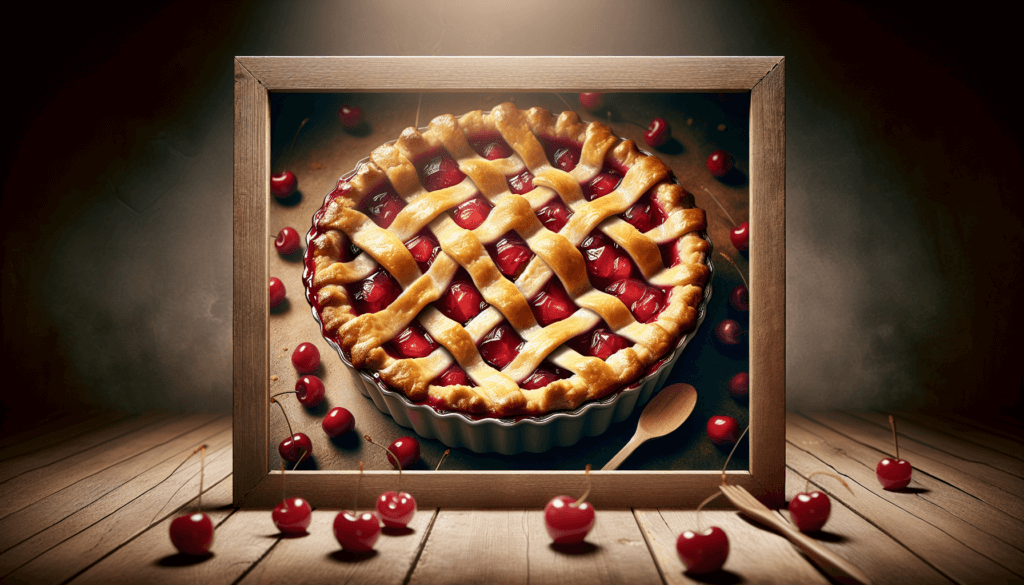
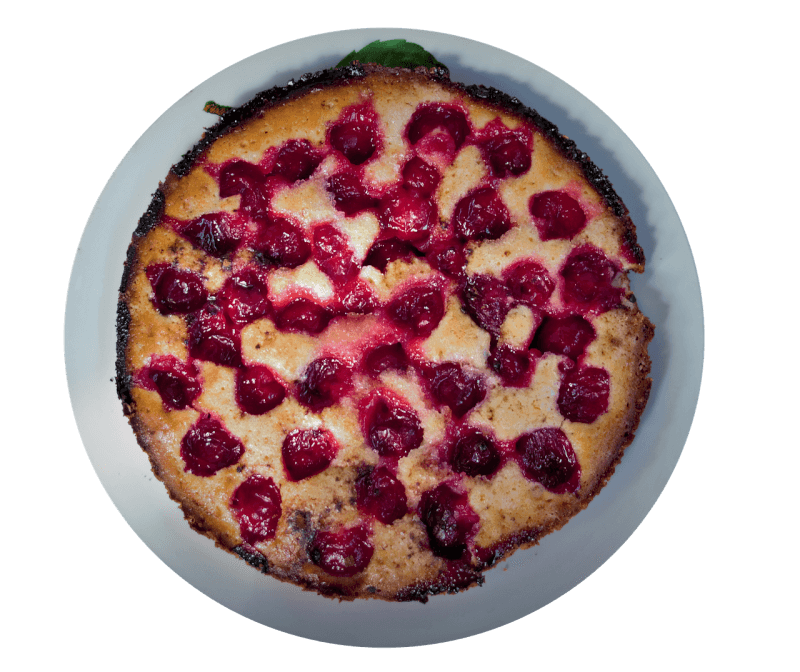
Imagine indulging in a warm, gooey homemade cherry cobbler with a crisp golden crust that melts in your mouth. In this article, you will learn the step-by-step process to create the best homemade cherry cobbler that will have your taste buds dancing with delight. From selecting the perfect cherries to mixing the right amount of sweet and tart flavors, this guide will empower you to become a master cobbler baker in no time. Get ready to impress your family and friends with this classic dessert that is sure to become a staple in your kitchen. So, roll up your sleeves, put on your apron, and let’s get baking!
Choosing the Right Cherries
When it comes to making a delicious cherry cobbler, choosing the right cherries is essential. The two main options are fresh cherries and frozen cherries, each with its own advantages.
Fresh vs Frozen Cherries
Fresh cherries are a popular choice for many bakers because of their vibrant color and natural sweetness. They offer a juicy and flavorful experience that is hard to beat. However, fresh cherries are only available when they are in season, which can limit your options for enjoying cherry cobbler throughout the year.
On the other hand, frozen cherries provide a convenient alternative. They are available year-round and offer the advantage of being pitted, saving you time and effort. While frozen cherries may lack the same firmness as fresh ones, they still retain their flavor and can be a great option for making cherry cobbler anytime you have a craving.
Sweet vs Sour Cherries
When it comes to deciding between sweet and sour cherries, it ultimately comes down to personal preference. Sweet cherries, such as Bing or Rainier cherries, have a milder taste and are often enjoyed fresh. They add a delightful burst of sweetness to your cobbler, which pairs perfectly with the buttery dough.
On the other hand, sour cherries, like Morello or Montmorency cherries, offer a tart and tangy flavor that can add a delightful contrast to the sweetness of the cobbler. The sourness of these cherries adds a unique twist to your dessert and can be a great choice for those who prefer a more balanced and zesty taste.
Selecting and Preparing Fresh Cherries
If you decide to go with fresh cherries for your cobbler, it’s important to select the best-quality cherries available. Look for cherries that are plump, firm, and shiny. Avoid cherries that are bruised, discolored, or have any signs of mold.
Once you have chosen your cherries, it’s time to prepare them for the cobbler. Start by rinsing the cherries thoroughly under cold water and gently patting them dry. If you prefer to pit the cherries, you can use a cherry pitter or a simple technique of using a straw to remove the pits.
Preparing the Cherry Filling
The cherry filling is the heart of any cherry cobbler, and getting it just right can elevate your dessert to new heights. Here are the key steps to preparing a delicious cherry filling.
Pitting the Cherries
Whether you are using fresh or frozen cherries, pitting them is essential to ensure a smooth and enjoyable eating experience. As mentioned earlier, a cherry pitter is a handy tool that can save you time and effort. Simply insert the pitter into the cherry, squeeze to remove the pit, and voila! You have perfectly pitted cherries ready to go.
If you don’t have a cherry pitter, don’t worry! You can still pit cherries using a straw or a small, sharp knife. Using a straw, position it over the stem end of the cherry and push it through until the pit pops out on the other side. With a small, sharp knife, carefully cut around the stem end, then twist the cherry halves apart to carefully remove the pit.
Adding Sweeteners and Flavorings
Once your cherries are pitted, it’s time to add some sweetness and flavor to the filling. Depending on the sweetness of your cherries and your personal preference, you can add granulated sugar, brown sugar, or even honey to enhance the natural sweetness of the fruit.
To amplify the cherry flavor, you can also add a splash of freshly squeezed lemon juice. The acidity from the lemon juice will bring out the brightness of the cherries and add a refreshing touch to the filling.
Thickening the Filling
To ensure that your cherry cobbler has the perfect consistency, it’s important to thicken the filling. This can be done using a thickening agent such as cornstarch or tapioca starch. Sprinkle the starch over the cherries and gently toss to coat evenly. The starch will absorb the excess liquid released by the cherries during the baking process, giving the cobbler a luscious, thick filling.

Making the Cobbler Dough
The cobbler dough is what makes this dessert truly special. It’s a simple combination of flour, fat, and liquid that bakes into a buttery and flaky topping.
Choosing the Flour
For the best results, it’s recommended to use all-purpose flour for making the cobbler dough. All-purpose flour strikes a balance between the protein content of bread flour and the delicate nature of cake flour, resulting in a tender and yet sturdy cobbler topping. This flour will give your cobbler the perfect texture and structure.
If you’re looking for a slight variation, you can try using part whole wheat flour for a nuttier flavor and added fiber. Just keep in mind that whole wheat flour absorbs more liquid, so you may need to adjust the amount accordingly.
Adding Fat and Liquid
The key to achieving a tender and flaky cobbler dough lies in the fat content. Butter is a popular choice for adding flavor and richness to the dough, while also playing a role in creating the flaky texture. Make sure your butter is cold and cut it into small cubes before incorporating it into the dough. Using a pastry blender or your fingertips, mix the cold butter into the flour until it resembles coarse crumbs.
Next, it’s time to add the liquid. Most cobbler dough recipes call for cold milk or buttermilk to bring the dough together. The liquid hydrates the flour and forms the gluten, which contributes to the structure of the dough. Start by adding a small amount of liquid at a time, just enough to bring the dough together without it being too sticky. Be careful not to overwork the dough, as this can result in a tough cobbler.
Mixing and Kneading the Dough
Once you have added the liquid, it’s time to mix and knead the dough. Using a wooden spoon or your hands, gently combine the ingredients until a cohesive dough forms. Avoid overmixing, as this can lead to a tough and dense cobbler.
Transfer the dough onto a lightly floured surface and knead it a few times to bring it together. Pat it into a disc shape and wrap it tightly in plastic wrap. Let the dough chill in the refrigerator for at least 30 minutes, or up to overnight. This resting time allows the gluten to relax and the flavors to meld together, resulting in a more tender and flavorful cobbler.
Assembling the Cobbler
Now that you have prepared the cherry filling and the cobbler dough, it’s time to assemble everything and get ready for baking.
Buttering the Baking Dish
To prevent the cobbler from sticking and to add a delicious buttery flavor, it’s important to butter the baking dish before adding the cherry filling. Using a pastry brush or your fingertips, generously coat the bottom and sides of the baking dish with softened butter. This will create a non-stick surface and add a touch of richness to the finished cobbler.
Pouring in the Cherry Filling
Carefully pour the prepared cherry filling into the buttered baking dish, ensuring an even distribution. Spread the cherries out so they cover the bottom of the dish in a single layer. This will allow the cobbler dough to bake evenly and ensure that every bite is filled with cherries.
Dropping the Cobbler Dough
Take the chilled cobbler dough out of the refrigerator and unwrap it. On a lightly floured surface, roll out the dough to about 1/2 inch thickness. Using a biscuit cutter or a round cookie cutter, cut out circles of dough and place them on top of the cherry filling.
Alternatively, you can also simply drop spoonfuls of the dough onto the filling, creating a rustic and charming appearance. This method is perfect if you prefer a more informal and homestyle cobbler.

Baking the Cherry Cobbler
With the cobbler assembled, it’s time to bake it to golden perfection. Follow these steps to ensure a beautifully baked cherry cobbler.
Preheating the Oven
Before placing the cobbler in the oven, it’s important to preheat it to the specified temperature in your recipe. Preheating allows the cobbler to bake evenly and helps to set the structure of the dough.
Determining the Baking Time
The baking time for your cherry cobbler will depend on various factors, including the size of your baking dish, the thickness of the dough, and the temperature of your oven. Generally, cherry cobblers are baked at a moderate temperature, around 350°F (175°C), for about 30-40 minutes.
To ensure that your cobbler is fully baked, you can insert a toothpick or a cake tester into the center of the cobbler. If it comes out clean or with only a few moist crumbs clinging to it, your cobbler is ready to be enjoyed.
Checking for Doneness
Once your cobbler has finished baking, remove it from the oven and let it cool for a few minutes. Test the filling to ensure it has thickened and set properly. If it seems a bit runny, don’t worry! The filling will continue to thicken as it cools. The perfect cherry cobbler will have a golden-brown crust on top, bubbling fruit filling, and a sweet aroma that fills your kitchen.
Serving and Storing
After you have successfully baked the best homemade cherry cobbler, it’s time to serve and store it properly to retain its deliciousness.
Cooling the Cobbler
Allow the cherry cobbler to cool for at least 15-20 minutes before serving. This will give the filling some time to set and will prevent any accidental burns from the piping hot filling. As the cobbler cools, the flavors will continue to develop, creating a more harmonious and enjoyable dessert.
Serving Suggestions
Cherry cobbler is delicious on its own, but a few serving suggestions can take it to the next level. Consider serving a warm slice of cobbler with a scoop of vanilla ice cream or a dollop of freshly whipped cream. The cold and creamy element pairs beautifully with the warm and fruity cobbler, creating a delightful contrast of textures and temperatures.
For an extra touch of indulgence, you can also drizzle some caramel or chocolate sauce over the cobbler or sprinkle it with a dusting of powdered sugar. The sky is the limit when it comes to personalizing your cherry cobbler and making it your own.
Storing Leftovers
If you find yourself with any leftover cherry cobbler, fear not! It can be stored and enjoyed later. Simply cover the baking dish tightly with plastic wrap or transfer individual portions to airtight containers. Store the cobbler in the refrigerator for up to three days.
For the best texture and flavor, it’s recommended to reheat the cobbler before serving. Just pop it in the oven at a low temperature, around 325°F (160°C), for about 10-15 minutes, or until heated through. The cobbler will be just as delicious as when it was freshly baked, allowing you to enjoy the wonderful flavors of cherry cobbler even on the second or third day.

Variations and Enhancements
While a classic cherry cobbler is undeniably delicious, there are several variations and enhancements you can explore to add your own personal twist to this beloved dessert.
Adding Other Fruits or Berries
While cherries are the star of the show in a cherry cobbler, you can definitely experiment with adding other fruits or berries to create a delightful medley of flavors. Some popular choices include sliced strawberries, blackberries, or blueberries. These fruits complement the cherries beautifully and add a burst of freshness and sweetness to the cobbler.
Experimenting with Spices
To elevate the flavor profile of your cherry cobbler, consider adding a touch of spice. Cinnamon, nutmeg, or cardamom can add warmth and complexity to the filling. Sprinkle a small amount of your desired spice onto the cherries before baking, and let the aromas fill your kitchen as the cobbler bakes to perfection.
Creating a Streusel Topping
If you’re looking to switch things up, a streusel topping can add a delightful crunch and texture to your cherry cobbler. Create a streusel by combining flour, sugar, and cold butter until it resembles coarse crumbs. Sprinkle the streusel over the cherry filling, and bake as usual. The streusel will become golden brown and provide a delightful contrast to the soft and juicy cherries.
Troubleshooting Tips
Even the most experienced bakers face challenges from time to time. Here are a few troubleshooting tips to help address some common issues with cherry cobblers.
Cobbler Turning Out Too Runny
If your cherry cobbler turns out too runny, it may be due to the excess moisture released by the cherries during baking. To counteract this, you can try increasing the amount of thickening agent, such as cornstarch or tapioca starch, in the filling. Another solution is to let the cherry mixture sit for a few minutes before pouring it into the baking dish. This allows any excess liquid to drain away, resulting in a thicker cobbler.
Cobbler Dough Not Browning
If your cobbler dough is not browning as desired, it may be due to a few factors. Firstly, make sure your oven is preheated to the correct temperature. If the oven is not hot enough, the dough will not brown properly. Additionally, you can brush the dough with an egg wash before baking, which will give it a beautiful golden color. Finally, you can increase the baking time slightly to allow the dough to develop a deeper color.
Cobbler Filling Overcooking
Overcooking the cherry filling can result in a mushy texture and loss of flavor. To prevent this, keep a close eye on your cobbler as it bakes. If the filling starts to bubble excessively or the cherries are becoming too soft, you can reduce the oven temperature slightly or cover the cobbler loosely with aluminum foil to prevent further cooking. This will ensure that your cherry filling remains juicy and flavorful.
Tips and Tricks from the Pros
Sometimes it’s the little details that make all the difference. Here are some tips and tricks from the pros that can help take your cherry cobbler to the next level.
Using Almond Extract for a Flavor Boost
For a subtle and delicious flavor boost, consider adding a small amount of almond extract to your cherry filling. Almond extract pairs beautifully with the natural sweetness of the cherries and adds a subtle nuttiness that enhances the overall taste of the cobbler. Just a splash of almond extract can make a big difference in the final result.
Brushing the Cobbler Dough with Egg Wash
To achieve a beautiful golden-brown crust on your cobbler, brush the dough with an egg wash before baking. Simply whisk together an egg with a tablespoon of water or milk, and brush it lightly over the dough. This step will give your cobbler a professional and polished appearance that is sure to impress.
Adding a Scoop of Vanilla Ice Cream on Top
The perfect cherry cobbler deserves the perfect accompaniment, and nothing beats a scoop of creamy and cold vanilla ice cream. The combination of warm cobbler and cold ice cream creates a delightful contrast of textures and temperatures that will truly take your dessert to new heights. Serve your cherry cobbler with a generous scoop of vanilla ice cream on top, and enjoy the heavenly combination of flavors.
Conclusion
In conclusion, baking the best homemade cherry cobbler requires careful consideration of every step, from choosing the right cherries to serving and storing the finished dessert. By selecting the freshest cherries or opting for convenient frozen ones, and by preparing a flavorful and properly thickened cherry filling, you are well on your way to creating a delicious cobbler. Mixing the cobbler dough, assembling the dessert, and baking it to perfection are the final touches that bring the dish together. Remember to experiment with variations, troubleshoot any potential issues, and utilize tips and tricks from the pros to elevate your cherry cobbler to a whole new level. With these comprehensive instructions, you are now ready to embark on your journey of baking the best homemade cherry cobbler. Happy baking!


